AI product photography, from photo to finished post.
A practical guide to preparing your product photo, choosing a brand template or AI scene, and creating a social post you can review and export. Follow a worked example with actual Glimyo outputs.
By Glimyo · A practical walkthrough for ecommerce brands
1. Start with an accurate product photo
Use a photo you own or have permission to use. Put the product near a window with indirect light, steady your phone, and leave space around the packaging. Wipe away dust and check that the label is readable. Avoid a wide-angle close-up that makes the bottle or box look distorted.
For a first attempt, choose one product against a simple background. A busy setting, glare across the label, or a partly hidden cap can make it harder to review an AI result. Keep your original photo alongside every generated version so you can compare them.
Glimyo accepts PNG, JPEG, and WebP uploads up to 10 MB. Upload your source image, then add the product name, description, price if relevant, and factual selling points. Those details help you draft a caption; they do not verify the product’s ingredients or benefits.
2. Choose what should change
Both methods start with your uploaded image. The important decision is whether you want to keep that photo intact or explore a new setting.
Brand templates and AI scenes in Glimyo
Your goal
Brand template
AI product scene
Product image
Keeps the uploaded photo, including its background.
Generates an image using your product photo and scene instructions.
Creative changes
Adds a headline, color, brand name, and optional logo around the photo.
Explores lighting, surroundings, and surfaces, then adds your brand layout.
Review needed
Check layout, wording, and readability.
Also compare labels, shape, color, and packaging with the original.
Early-access allowance
Does not use AI scene credits.
Uses the allowance shown in your studio before generation.
Use a template when the existing photo already represents the product well. Try an AI scene when you want a different environment and can review the result carefully. AI instructions to preserve packaging are a request, not a guarantee.
3. Give the creative one clear message
In your brand kit, set a name, color, tone of voice, and optional logo. Choose an everyday post, product launch, or promotion. Keep the headline short enough to read on a phone and move supporting details into the caption.
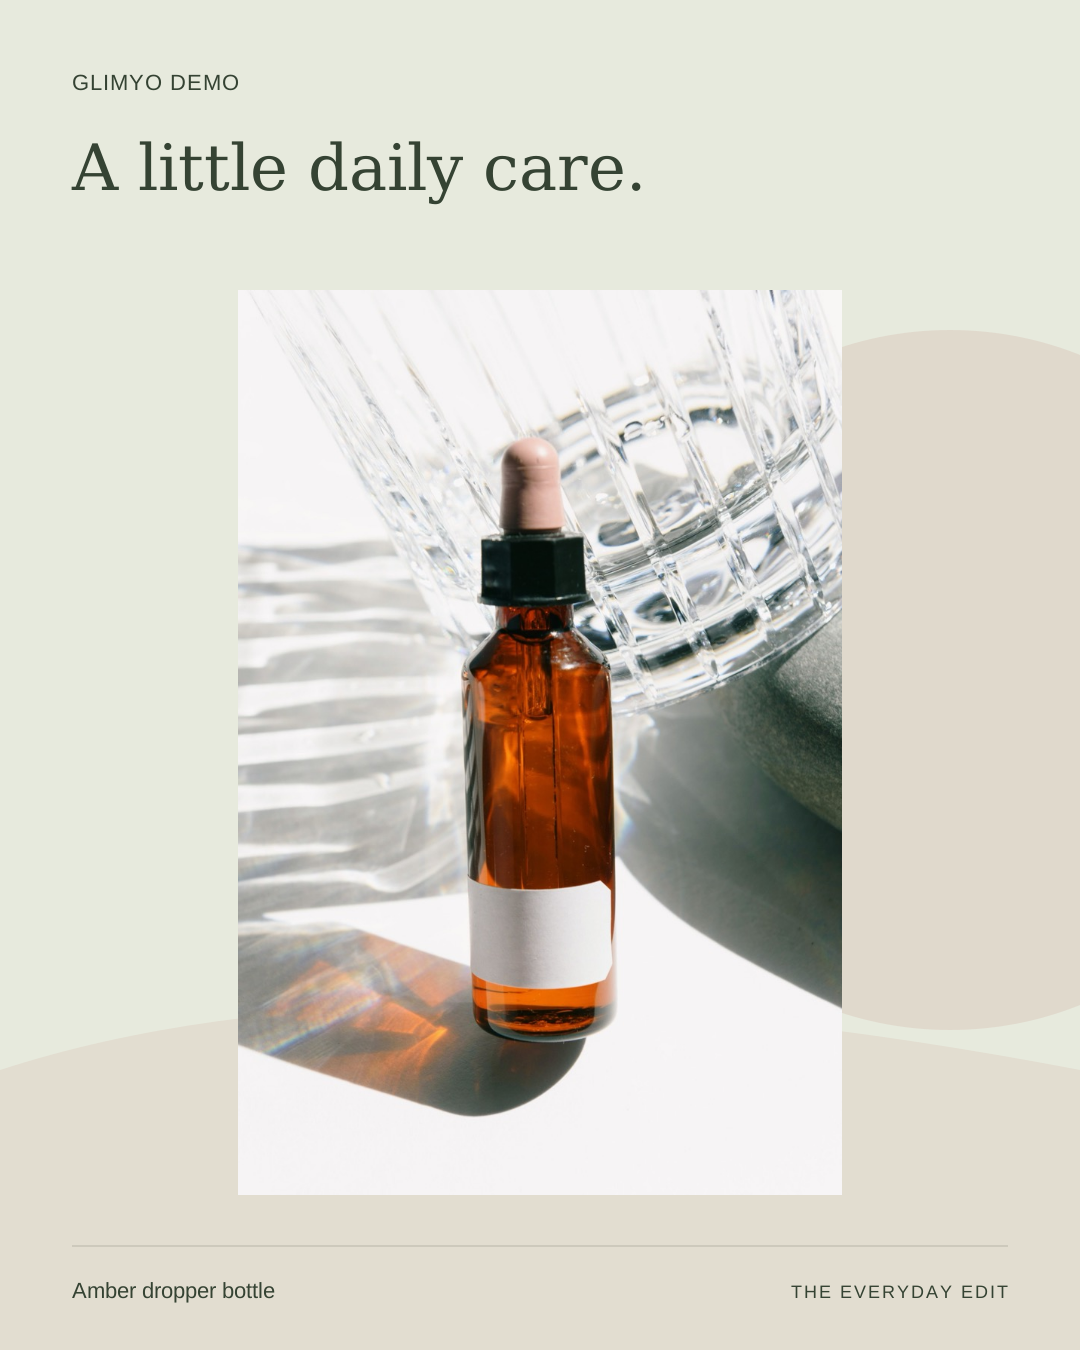
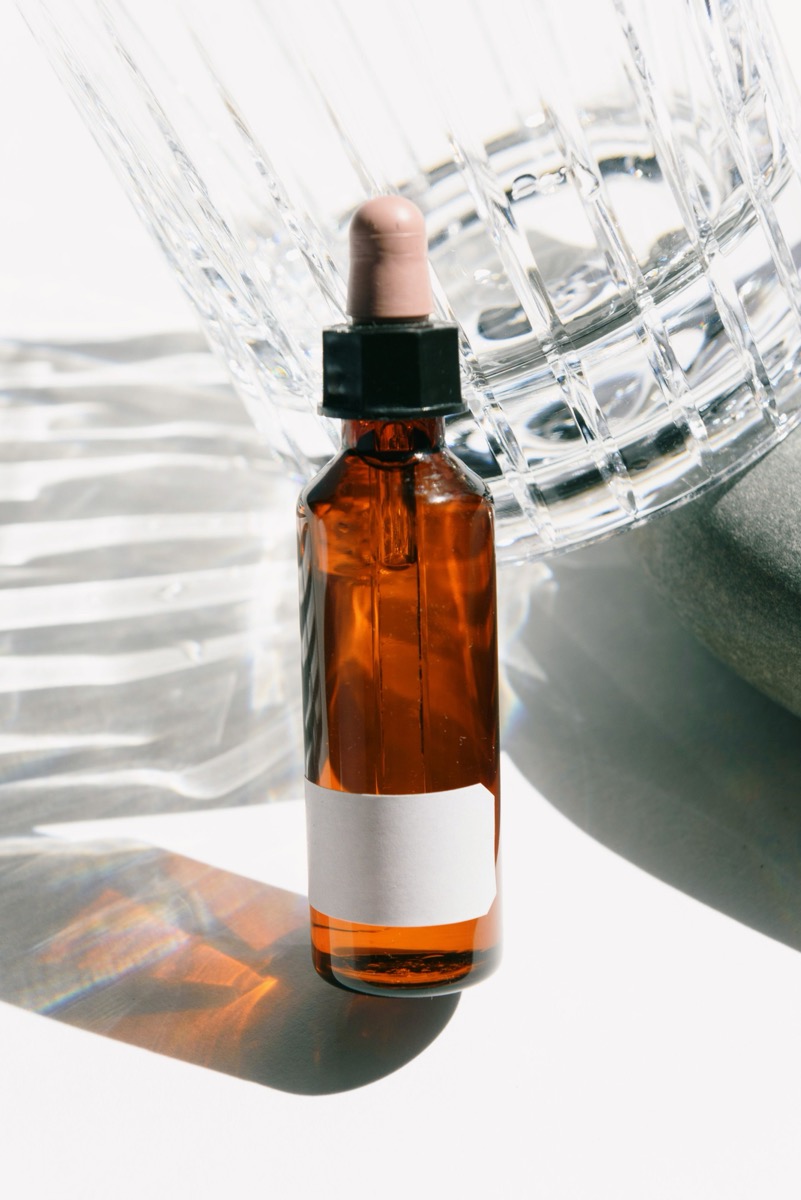
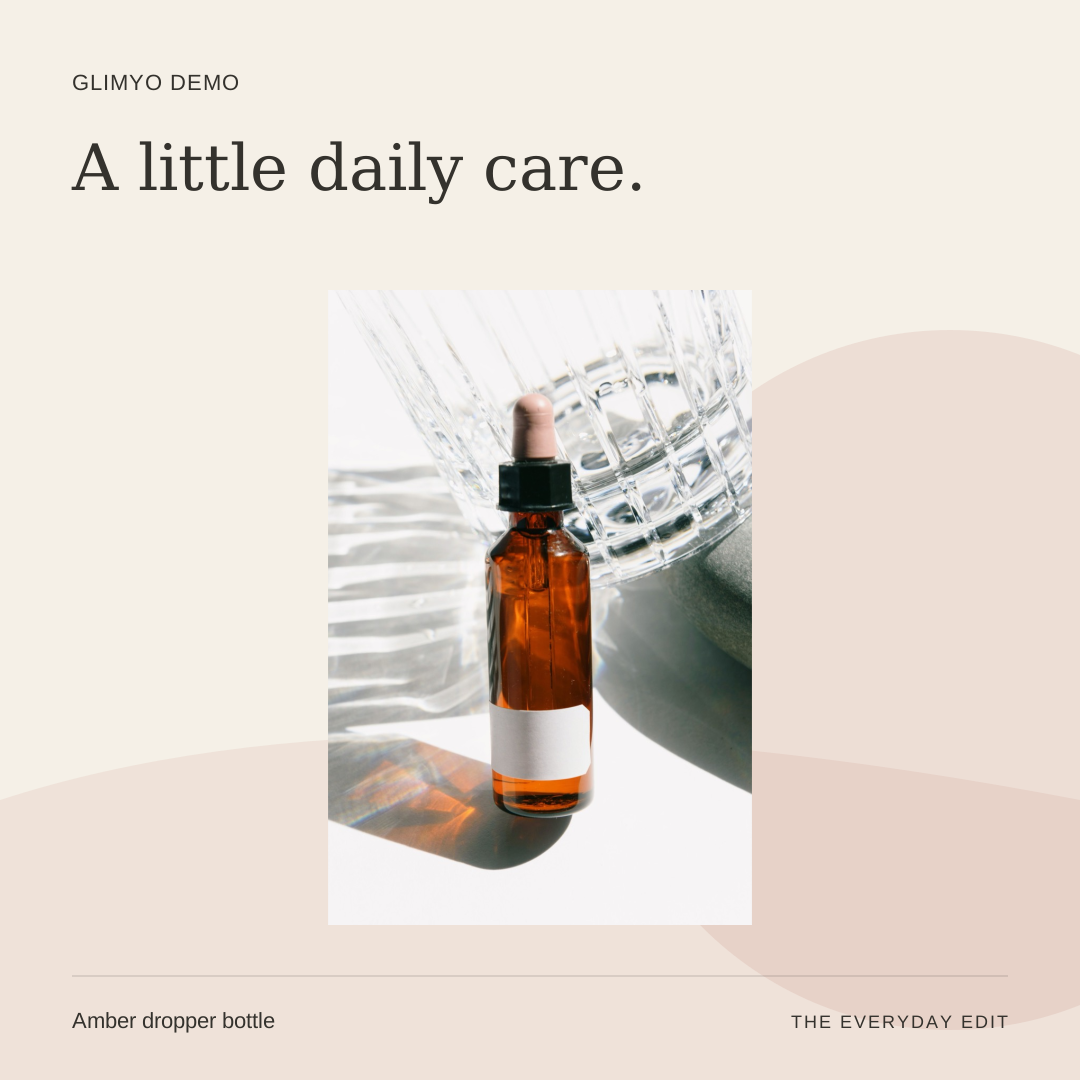
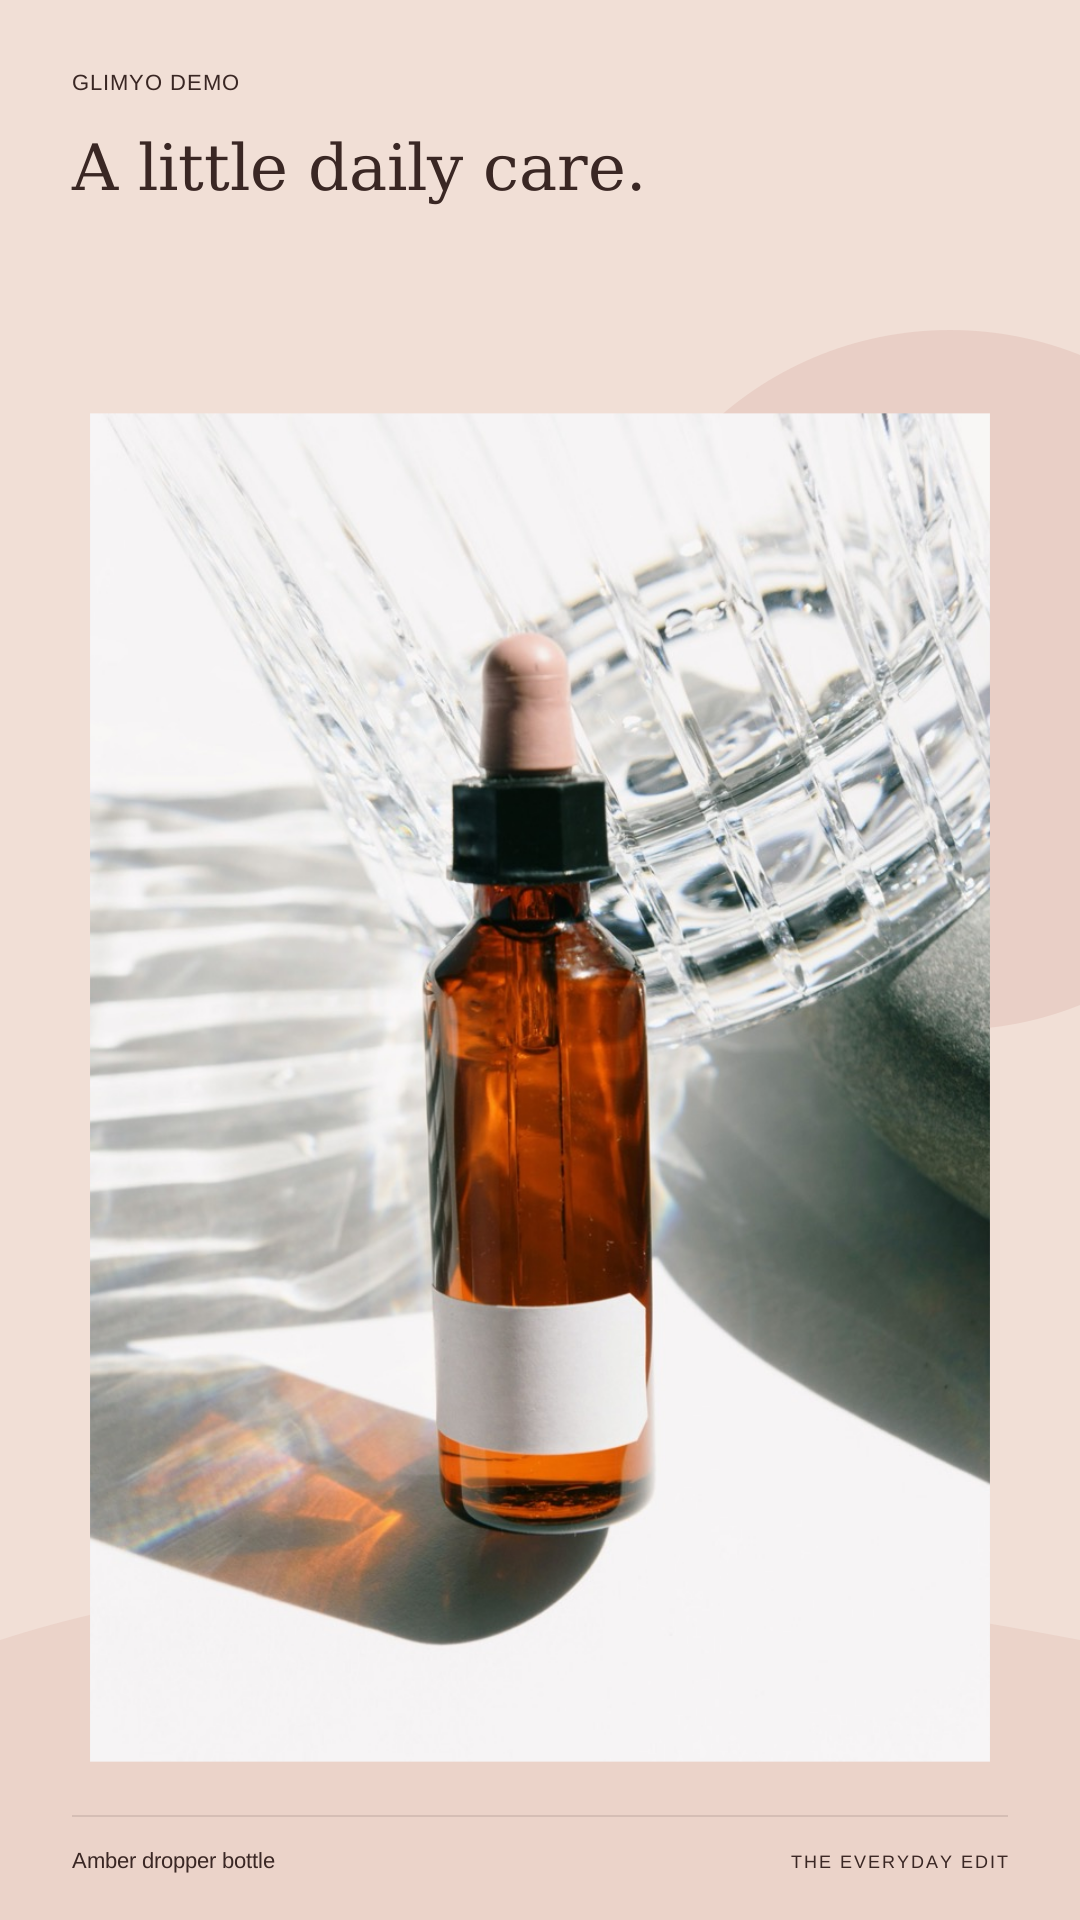
For the example below, we used a licensed photo of an unbranded amber dropper bottle, the fictional brand “Glimyo Demo,” a terracotta brand color, and the headline “A little daily care.” We have no verified information about the contents, so the example makes no ingredient, treatment, or performance claims.
The photo has strong sunlight and a glass backdrop. A template retains both. Each output uses a different layout style and size to show how the same image can be presented.
MADE WITH GLIMYO
One product photo. Three ways to share it.
A real photo, a short headline, and your brand styling. Explore actual Glimyo template outputs below.
01 / ORIGINAL PHOTO801 × 1200
The uploaded photo. Its background stays intact in a brand template.
A useful scene prompt describes the surface, light, background, and composition. Start with one direction so you can judge what worked. Here is a prompt to try with your own product photo; it was not used for the template examples above.
Place the product upright on a pale limestone surface with a warm off-white background. Use soft light from the left and a natural shadow. Keep the entire product visible and centered with generous space around it. Preserve the packaging, label, cap, and proportions. Do not add props, lettering, or extra products.
Glimyo sends the photo and scene context to OpenAI when you choose an AI scene. Generated packaging or lettering may still change. If the label becomes inaccurate, return to a template or adjust the direction and create another scene. A new AI generation uses another credit; changing the headline or exporting the saved scene in another size does not.
5. Edit the caption using facts you can support
Glimyo’s starting captions use your saved product details and campaign goal. They are editable drafts, not researched or verified product copy. Remove any claim you cannot substantiate, confirm the price and currency, and check offer dates before using promotional language.
Keep the next action specific: explore the product, read its details, or visit your shop. For this demonstration, a suitable neutral caption is: “A closer look at the details. Explore our amber dropper bottle and find the full product information in our shop.” Replace it with wording that reflects what you actually sell.
Open the saved creative to edit the headline and caption, then save your changes. A headline change updates the layout around the saved image. Editing the product record later affects new creations; it does not rewrite an earlier creative.
6. Review the image at the size people will see
Before marking a creative approved, compare it with the source photo and preview it on a small screen. Approval is a marker in your library; it does not publish the post.
Product accuracy: check the label, cap, proportions, color, and number of items.
Readable text: check the headline, product name, logo, and contrast against the background.
Honest copy: check prices, offer terms, and every product claim.
Composition: keep important details clear of edges and social-interface overlays.
Choose square (1080 × 1080), portrait (1080 × 1350), or Story (1080 × 1920), then download the PNG and copy the caption. Glimyo rearranges the layout around the saved image. Review each size separately: a composition that looks balanced in a square may feel different in a taller format.
Publish through your usual social tools. Scheduling and automatic social publishing are not connected in the current release. For a new approach, use “Create another version” to bring the creative’s settings back into the studio, adjust them, and generate when you are ready.
Common questions
Can I start without connecting Shopify?
Yes. Upload a product photo manually and save its details. A connected store is not required for the workflow in this guide.
Does a template remove the background?
No. It places your uploaded image within a branded layout. Prepare a suitable photo first, or try an AI scene if you want to explore a different environment.
Will AI keep my label exactly right?
It may not. Review the generated label and packaging against the original. Use the original photo in a template whenever exact visual fidelity is essential.
Can I resize an older AI creative?
New AI creatives retain their source scene for alternate layouts. Earlier creatives without a retained scene keep their original export and editable caption, but do not support every image-editing option.